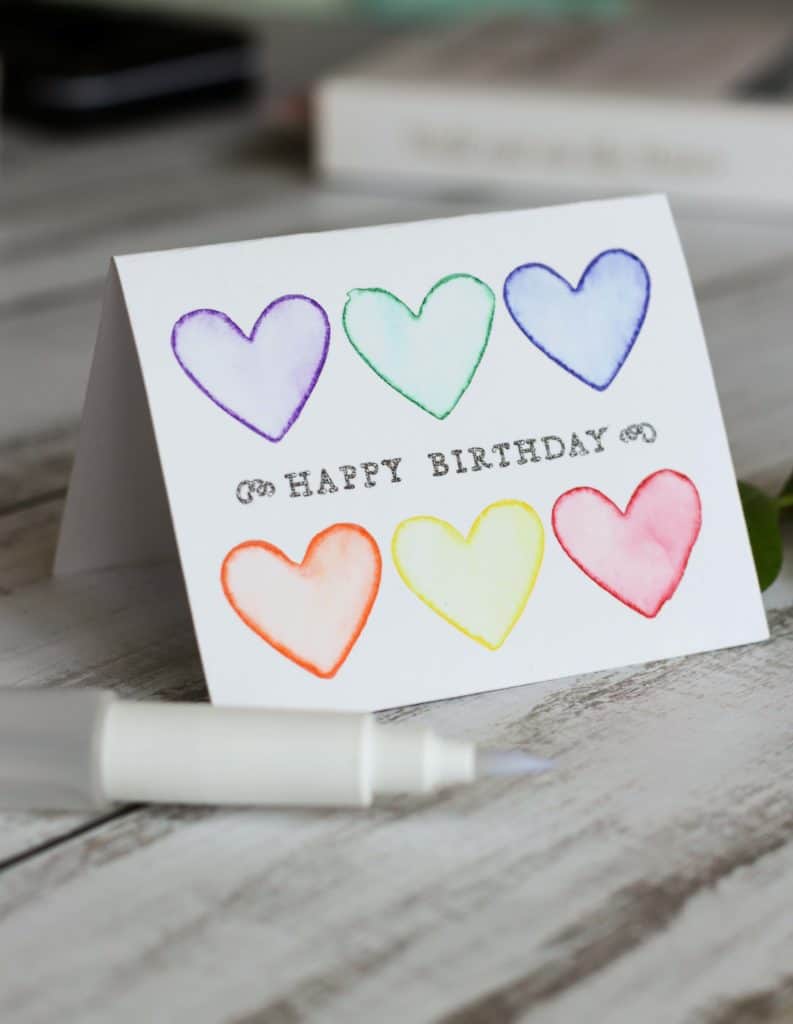
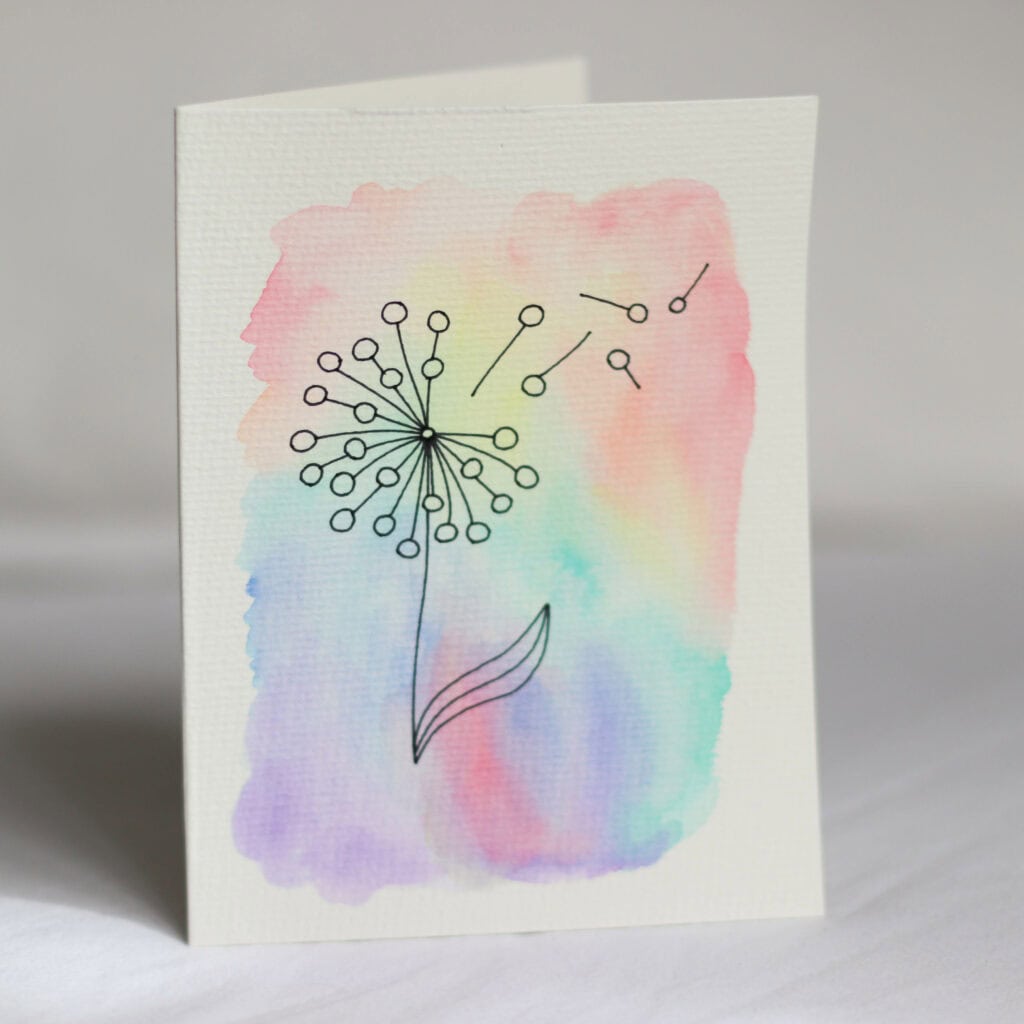
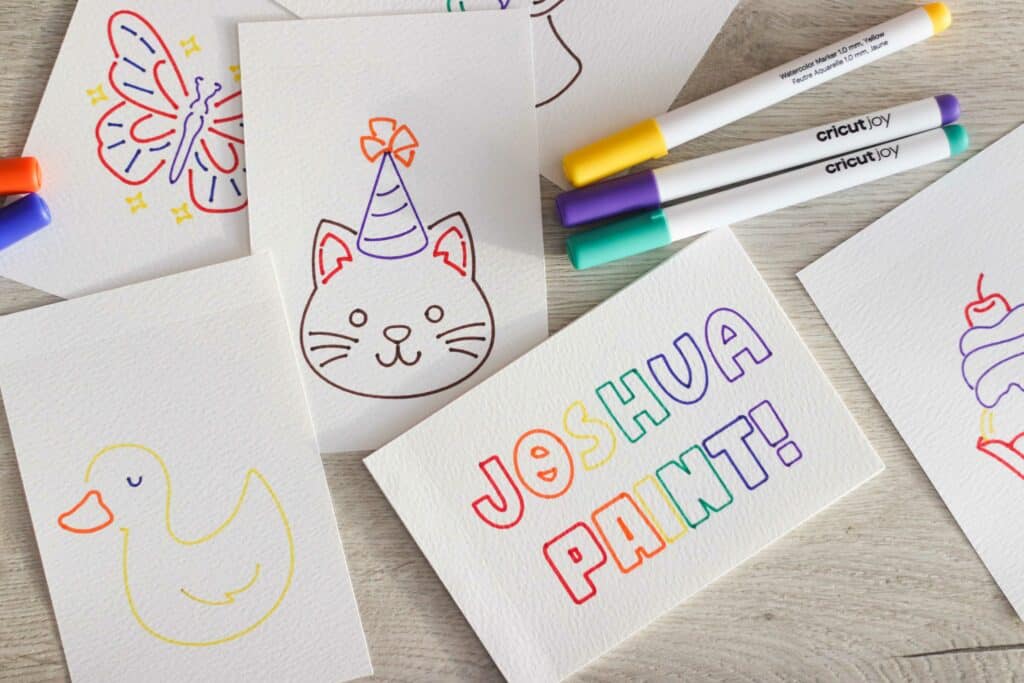
I just love how innovative Cricut is with their products. Last year they released a set of watercolor markers and cards for the Cricut Maker/Explore and the Cricut Joy. These markers are lots of fun to play with and create some unique and whimsical effects. Even if you have never painted before, you can give watercolours a go with Cricut watercolour markers!
Read on for my top Cricut watercolor tips!
How to use Cricut watercolor markers
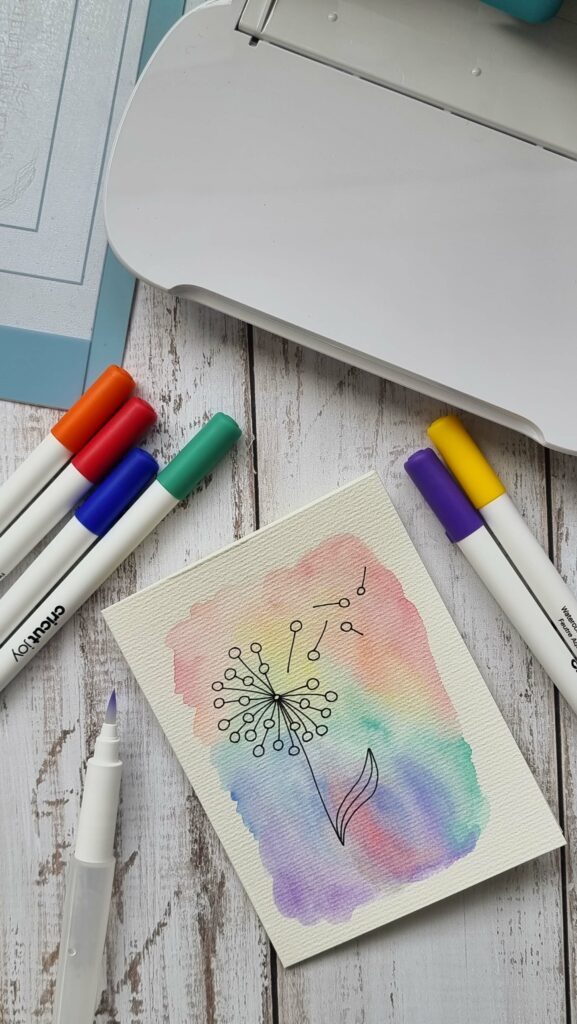
Each set of markers includes 8 colors (black, brown, yellow, orange, red, green, dark blue and purple) plus a watercolor brush pen. These markers can be used in the pen slot of either the Cricut Joy or the Cricut Maker (different pens for each machine) or they can be used to draw freehand.
The watercolor brush pen is a specialised pen with a brush like tip. It has a reservoir that can be filled with water which allows for a constant flow of water onto the watercolor paper.
To get painting, simply draw out a design using the markers and then use the water pen to activate the ink (essentially turning it into paint) and fill in the painting area.
Cricut has also developed cards specifically for the watercolor markers. The cards are made of 140lb (300gsm) cold pressed watercolor paper, so they have a lovely texture to them. They are available in several different sizes, compatible with both the Cricut Joy card mat and the larger Cricut Maker card mat. Each card also comes with an envelope, which is so useful!
Note that the card is a more cream color rather than pure white. It’s not the highest quality cardstock but it does the job. If you’d like to step up your watercolor supplies a notch or two, then consider using Fabriano Mixed Media paper or higher quality watercolor paper like Canson or Arches.
Tips for how to use Cricut watercolor markers
Compared to other Cricut card products, you do have to work a little harder to get a beautiful end result with the watercolor markers. Let’s be honest though, the other Cricut card products, like Cricut cutaway cards, require almost zero effort (or even creativity!) to get stunning results. The Cricut watercolor markers do need a little practice and patience to master, but with these tips for how to use Cricut watercolor markers you will be well on your way.
Cricut watercolor tips
- Use the right paper! Watercolor paper is a heavier weight and is specifically designed to hold water and allow you to move the pigment around. If you use regular printer paper, you will end up with a mushy mess or a very buckled card.
- Do a little test scribble with the watercolor markers before you start your project. This is to make sure the ink is flowing correctly and for you to confirm that you are happy with the colors you have selected for your project. The color straight out of the marker will be dark and will lighten up as you add water.
- The colors of the markers in the set are a little limited, but they blend quite easily, which is a great way to make new colors! Spend some time practicing mixing colors and consider keeping a little chart alongside your work so that you know how you achieved certain colors.
- Use the watercolor brush pen that comes with the set, but add more water to achieve better blending. I do this by dipping the brush pen into a jar of water. I found that achieving water control with the brush pen quite difficult. You need to squeeze it to get the water flowing and if you squeeze too hard it is easy to get too much water onto your watercolor piece. This is particularly difficult if you are trying to paint neatly in the lines of your picture! To remedy this, I’d suggest simply having a jar of water to top up your brush if you need it.
- Keep a piece of paper towel on hand to blot up any excess water, either from your card or from your brush pen.
- Don’t overwork the ink into the paper, otherwise the paper may start to come apart. Rather, let the paper dry and then add more layers of color if needed.
- Make sure to rinse your brush in between using different colors so that you don’t get muddy streaks of color.
- If you are a seasoned watercolorist you may find these pens a little frustrating. The pigment isn’t as rich as watercolor paint, however, you can use layering to make the colors brighter.
- Make sure your card is 100% dry before adding new layers of color or other details, such as foil work. You can use a small heat gun to speed things up.
- Use a brayer (one of my favourite tools of all time!) to adhere your card to the card mat, and make sure that it is nice and flat. If the card is buckled at all, it will catch in the Cricut and tear (I learned this the hard way!)
- Don’t get your finished project wet! Watercolor inks are reactivated by water and if your finished project gets wet the ink may bleed.
- Don’t just stick to the watercolor projects in Design Space – add in some pen, foil and other elements! You can also use regular line drawings and change them to watercolor pens. Also consider doing some free hand work.
I hope you learned something new today with all these tips on how to use Cricut watercolor markers.
Cricut watercolour marker project ideas
Below are some fun projects to test out how to use Cricut watercolor markers. Click the buttons below to head over to these projects in Design Space.
