Front post double crochet and back post double crochet stitches are some of my favourite stitches for creating visual interest. These stitches are not only used to create texture, but are also used for creating ribbing, cables, basket weave and knit-look fabrics. These stitches are also wonderful for creating stretchy fabrics.
Once you have mastered the front post and back post double crochet stitches, you can apply the same principles to just about any other basic crochet stitch (although taller stitches tend to work better).
Front post double crochet and back post double crochet stitches can be worked either in rows (i.e. flat) like in the sample piece below, or in the round as you can see on the Celtic Cross and Sand Dollar squares. They can also be joined together in a decrease or doubled for an increase, a technique which is used a lot in the Hosta bag pattern.
Front post double crochet is typically abbreviated to FPdc, while back post double crochet is abbreviated to BPdc. Additional stitch abbreviations can be found on the Abbreviations page.
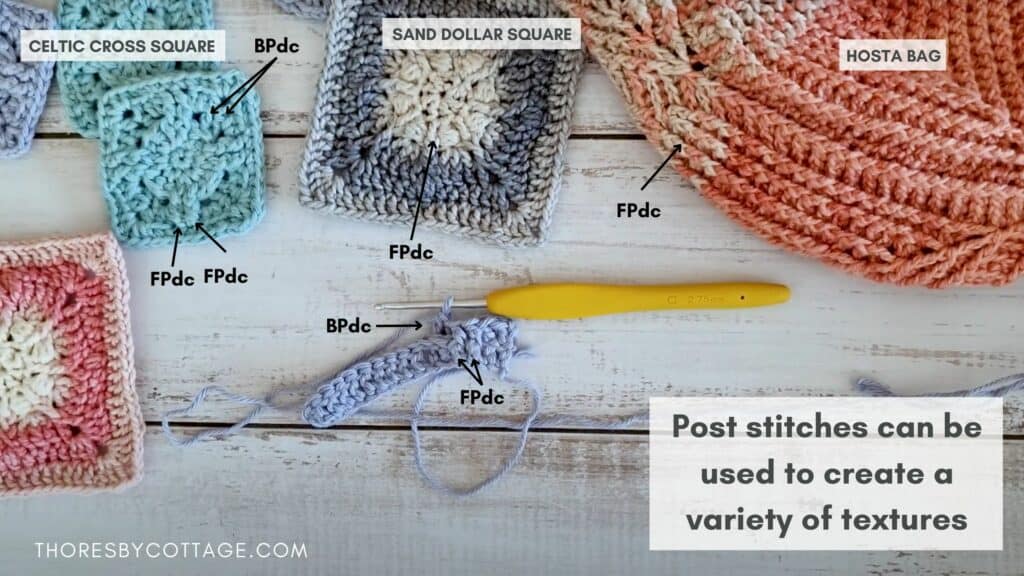
What’s the difference between FPdc, BPdc and regular dc?
All 3 stitches are worked in exactly the same way: yarn over, insert hook, yarn over and pull up a loop. 3 loops on hook, yarn over, pull through 2 loops, yarn over and pull through two loops.
The only difference is where the hook is inserted. For a regular double crochet, the hook is inserted into the top of the stitch. For both post stitches, the hook is inserted either in front or behind the post and the stitch is worked around the post.

TOP TIP: It can be tricky to remember which stitch is which! In terms of the finished look, a FPdc pushes the stitch towards the front of the work while a BPdc pushes the stitch towards the back of the work
How to crochet FPdc and BPdc
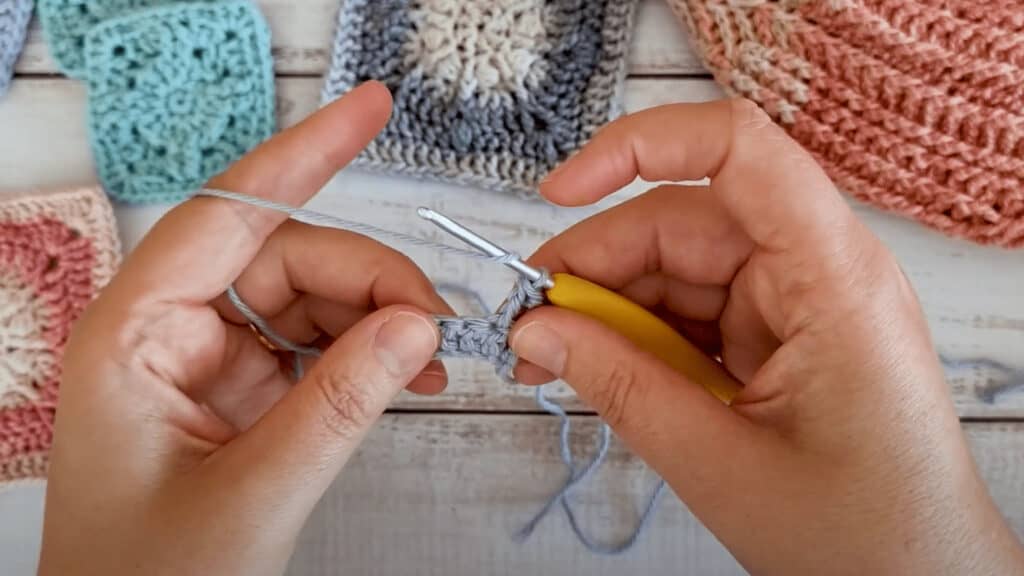
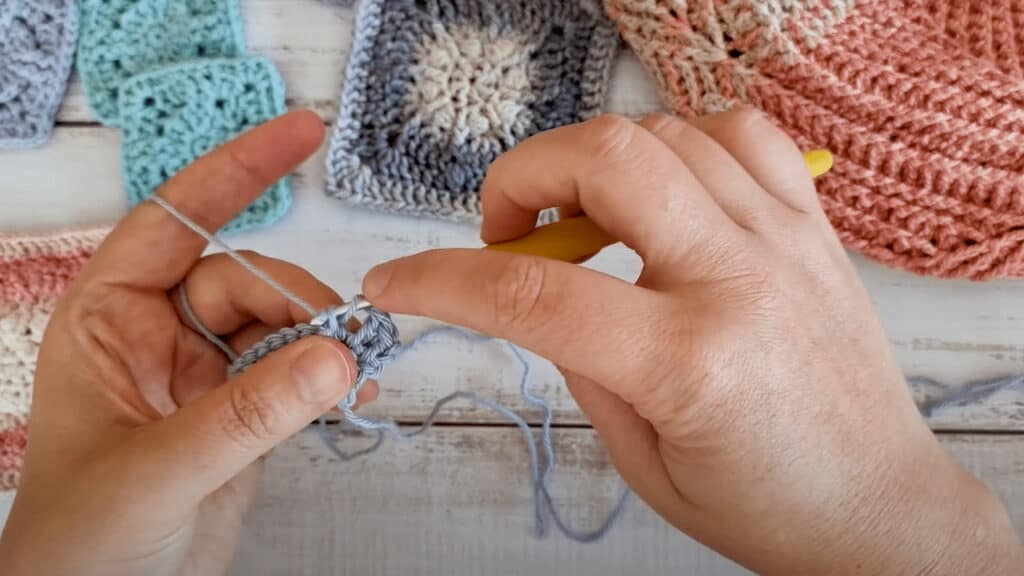
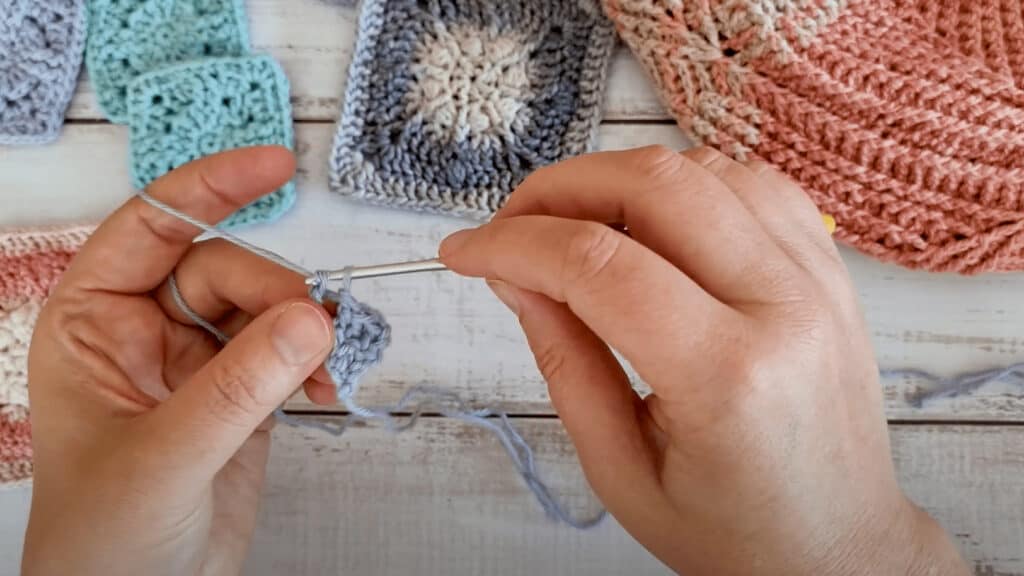
How to crochet a front post double crochet (FPdc)
Step 1: Yarn over.
Step 2: Insert the hook, from right to left, underneath the post (not into the top of the stitch).
Step 3: Yarn over and pull up a loop. There should be 3 loops on your hook.
Step 4: Complete the stitch in the same way as a regular double crochet as follows; yarn over and pull through 2 loops.
Step 5: Yarn over and pull through the last 2 loops on the hook to complete the stitch.
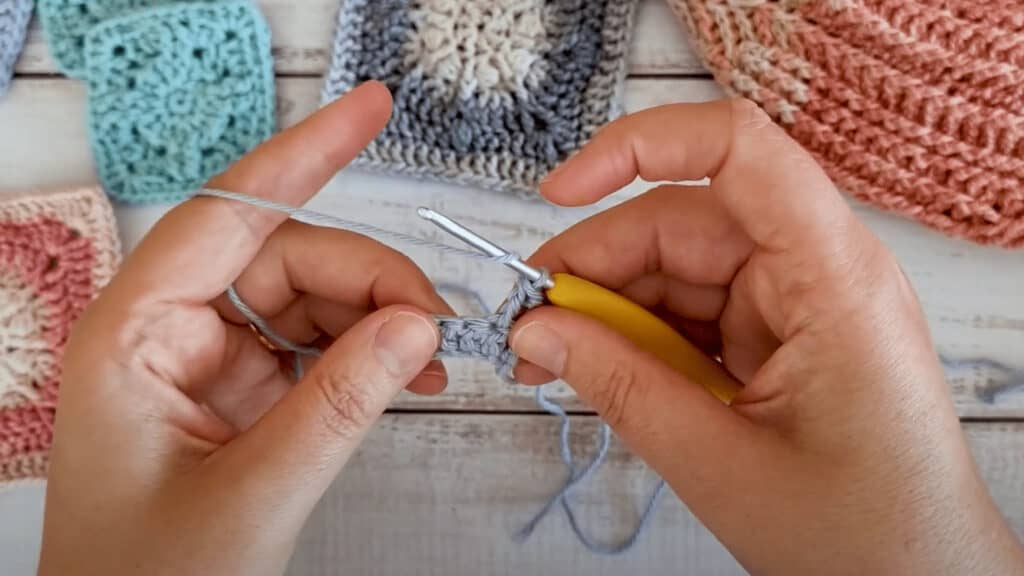
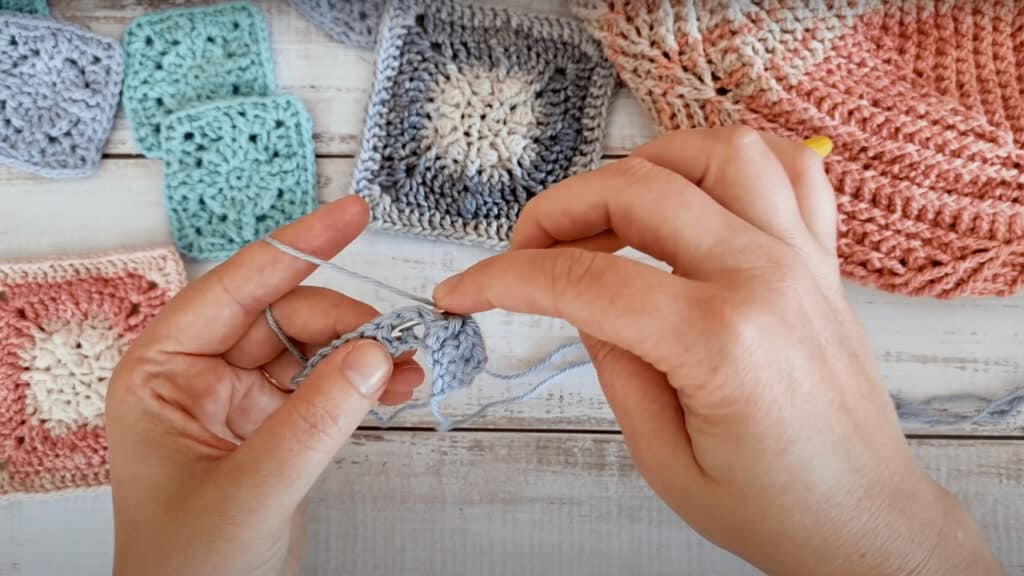
How to crochet a back post double crochet (BPdc)
Step 1: Yarn over.
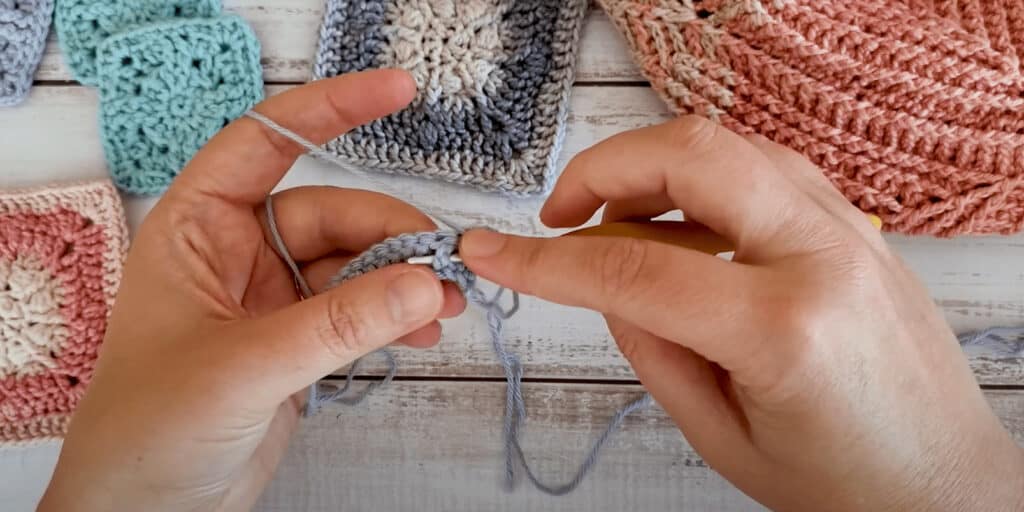
Step 2: Insert your hook from the back of the work, on the right hand side of the post. Move the hook over the post and down into the space on the left hand side of the post.
Step 3: Yarn over and pull up a loop. There should be 3 loops on your hook.
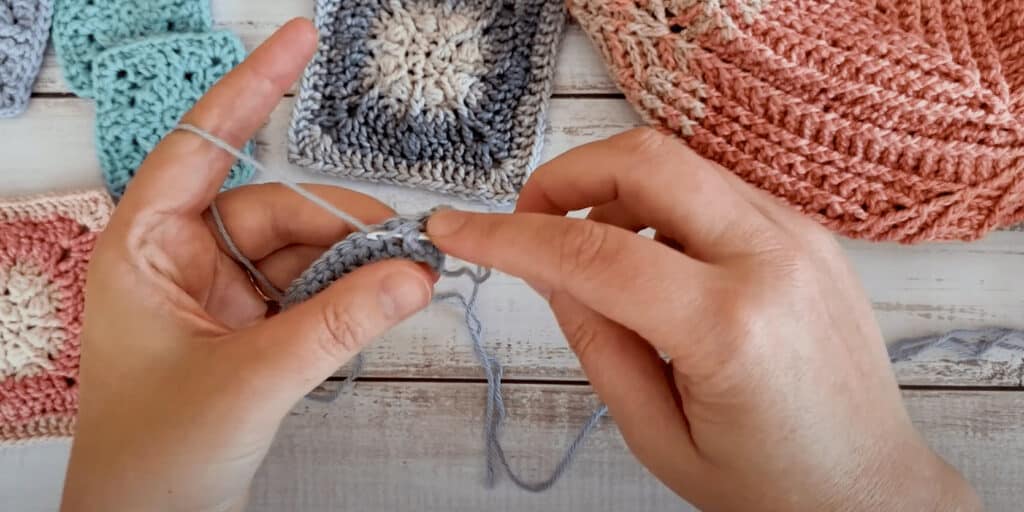
Step 4: Complete the stitch in the same way as a regular double crochet as follows; yarn over and pull through 2 loops.
Step 5: Yarn over and pull through the last 2 loops on the hook to complete the stitch.
Patterns using front and back post crochet stitches
Keen to give your new skill some practice? Here are some great patterns which use either FPdc, BPdc or a combination of both stitches.
Additional free crochet patterns for granny squares, decor, Christmas items and more can be found in the crochet section of this website.
Happy stitching!
